

Braking Power / Braking Forces
What Is Braking Power in Running?
Braking power is a key metric for runners; it quantifies the “slowing-down force” required to set you up for the next stride. Intuitively, one might think that ‘braking’ should be avoided at all costs, but it is essential; without it, you’d crash into the ground!
If your braking power is low, transitioning to the next stride takes longer, slowing you down. You then need to draw on extra energy from your reserves to regain the speed you lost.
Ensure your legs are healthy and conditioned so you can brake more efficiently with less effort while maintaining speed.
In simple terms:
High Braking power = more stopping force, wasted energy, and greater stress on the legs.
Good Braking power = smoother running, less wasted energy, and a more efficient stride.
Low Braking power = lumbering, inefficient stride; greater GCT and knee flexion; requires additional energy during propulsion to maintain speed.
Running Drills
Here are 4 running drills to help reduce braking power by encouraging your foot to land closer underneath your body, rather than too far out in front.
1. Fast feet / quick cadence drill
Run with short, quick steps for 20–30 seconds, focusing on keeping your feet light and underneath you. The aim is not to sprint, but to reduce long-reaching strides.
Cue: “Quick feet, quiet feet.”
2. Run-in-place → lean forward
Start by running on the spot with good posture. Then gently lean forward from the ankles and let yourself move into a run. This teaches you to let your body fall forward rather than reaching out in front with the foot.
Cue: “Lean and go — don’t reach.”
3. Ankling drill
Take very small steps, rolling quickly from the ball of the foot and keeping the movement low to the ground. This helps improve foot placement and teaches a quicker, smoother contact.
Cue: “Tap the ground under your hips.”
4. Strides with short first steps
Take a relaxed 60–80-metre run, but start with deliberately short, quick steps before gradually building speed. This stops you from bounding forward too early and landing with the foot too far ahead.
Cue: “Build speed — don’t force speed.”
Simple rule
To reduce braking force, think:
Land closer under your hips, keep your cadence slightly quicker, and avoid reaching forward with the foot.
Strength and Conditioning Exercises
Here are five exercises to improve your braking power. Do these 2–3 times a week, with a day off between harder sessions.
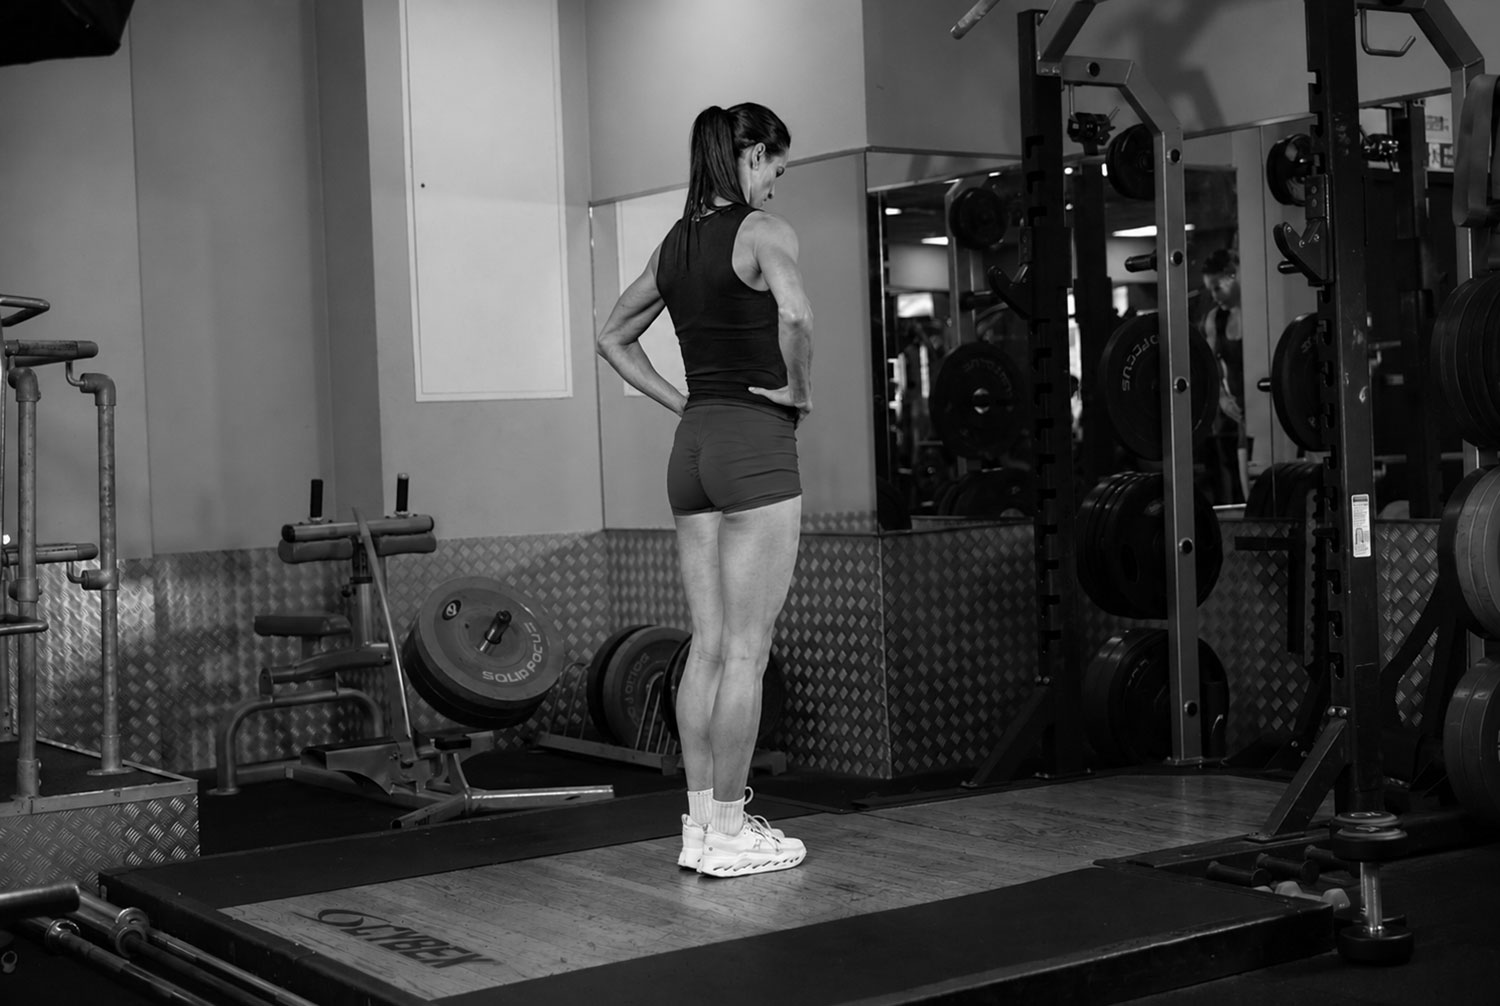
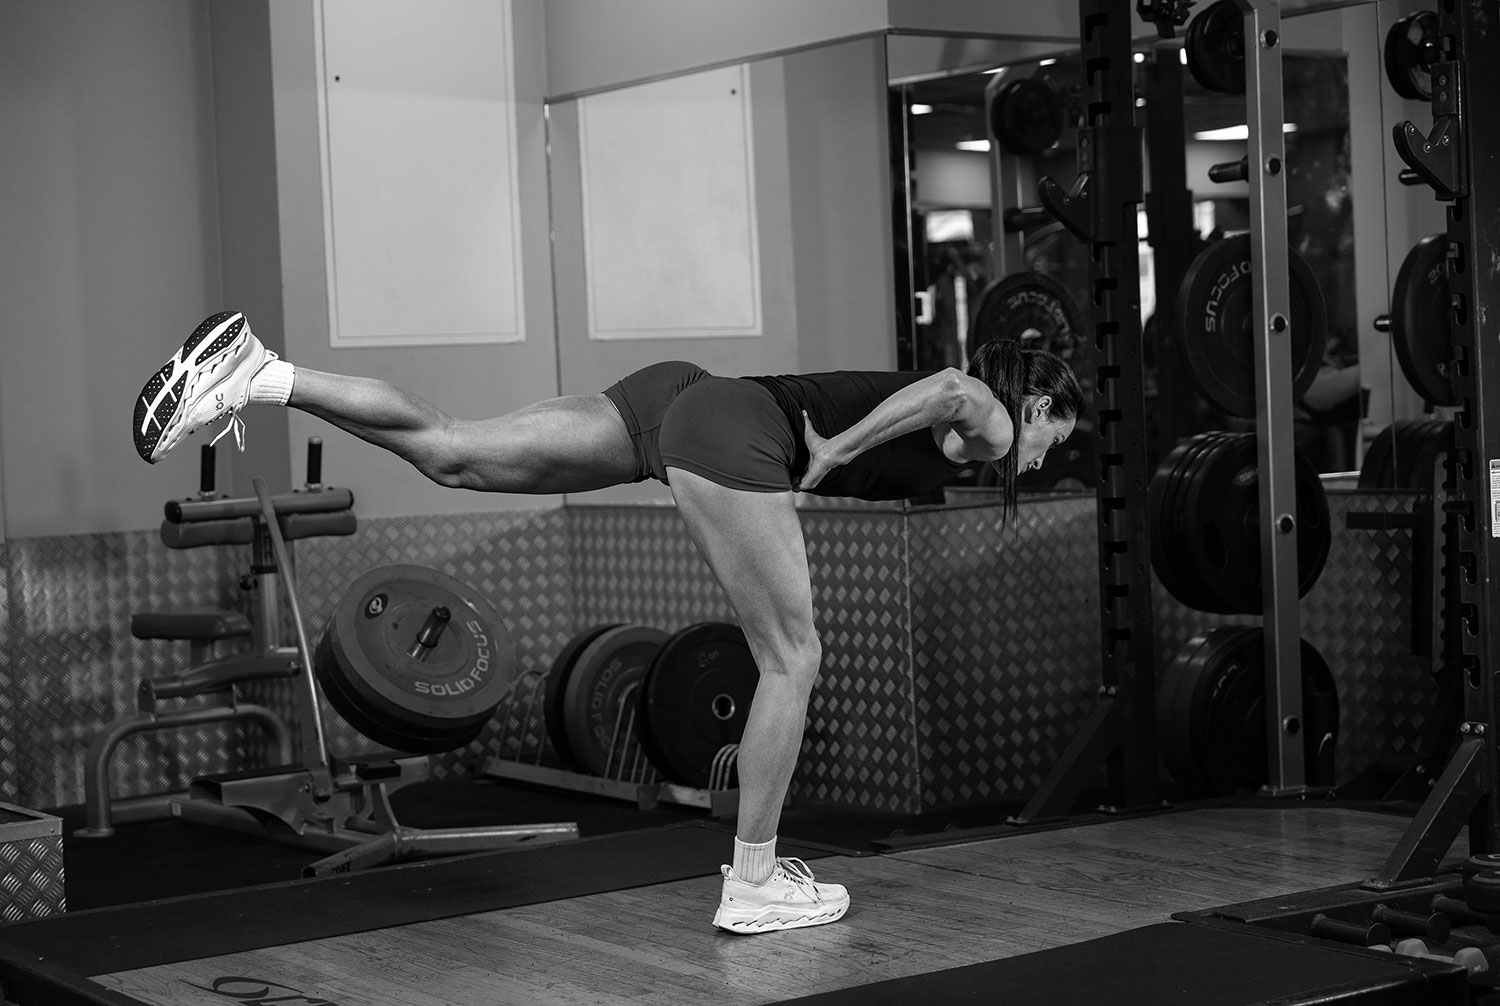
Single-leg Romanian Deadlifts (RDL’s) Unweighted
Romanian RDL’s help reduce overstride by strengthening the glutes and hamstrings, improving hip control, and encouraging greater force production behind the body rather than reaching too far forward.
1
Stand with your feet together and your posture tall. You can put your hands on your hips, but until you feel comfortable, leave them at your side, ready to help you balance.
2
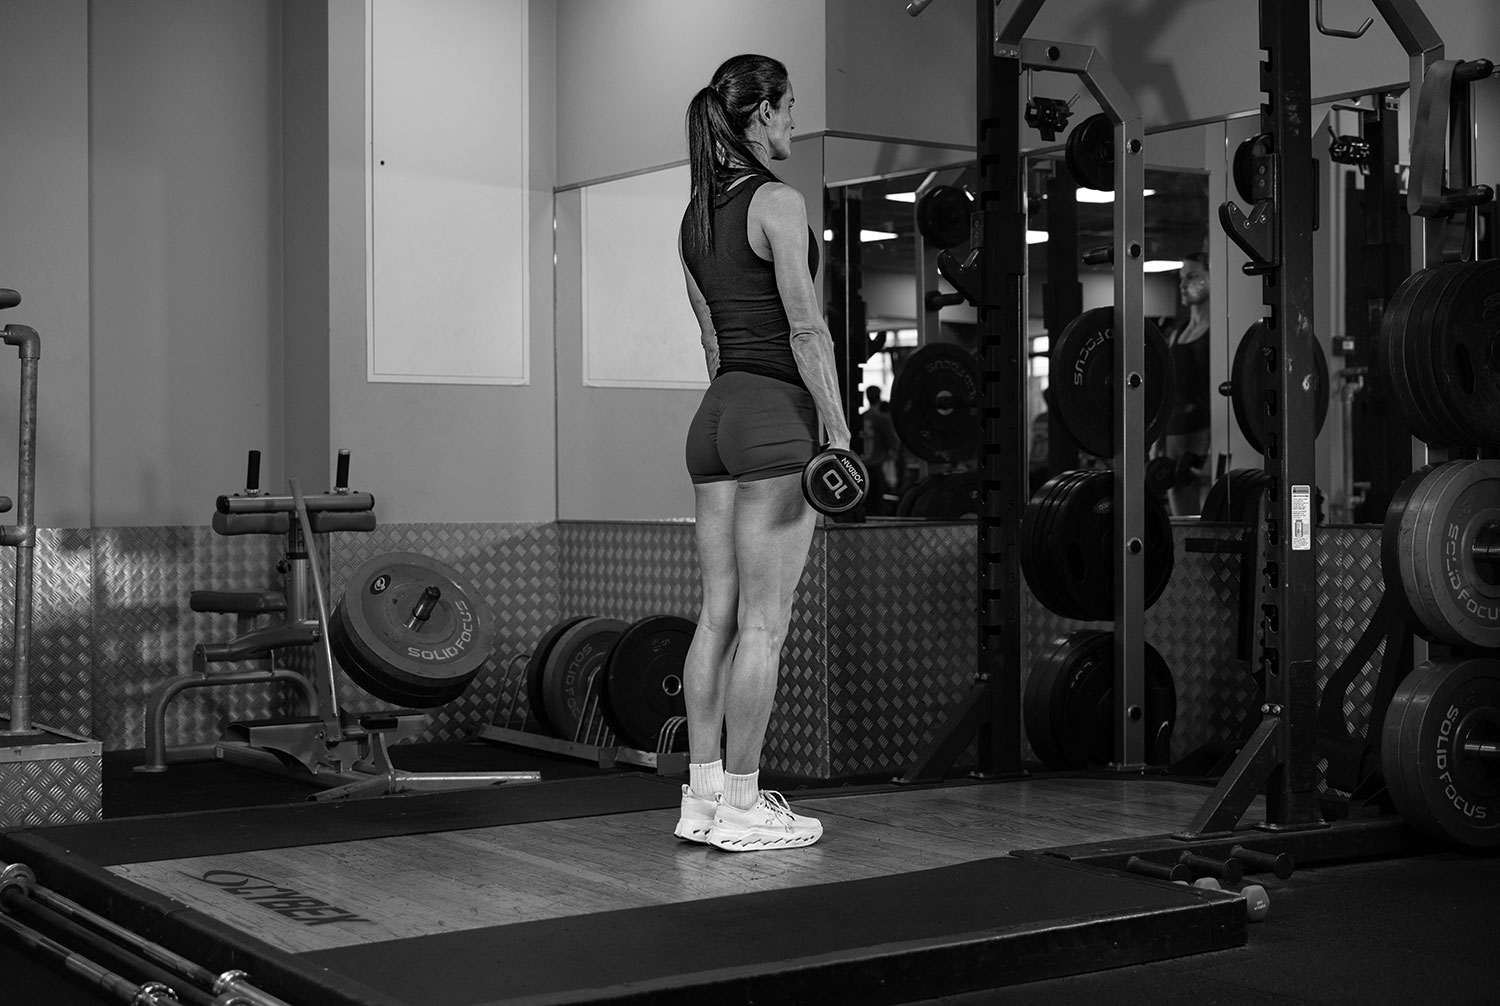
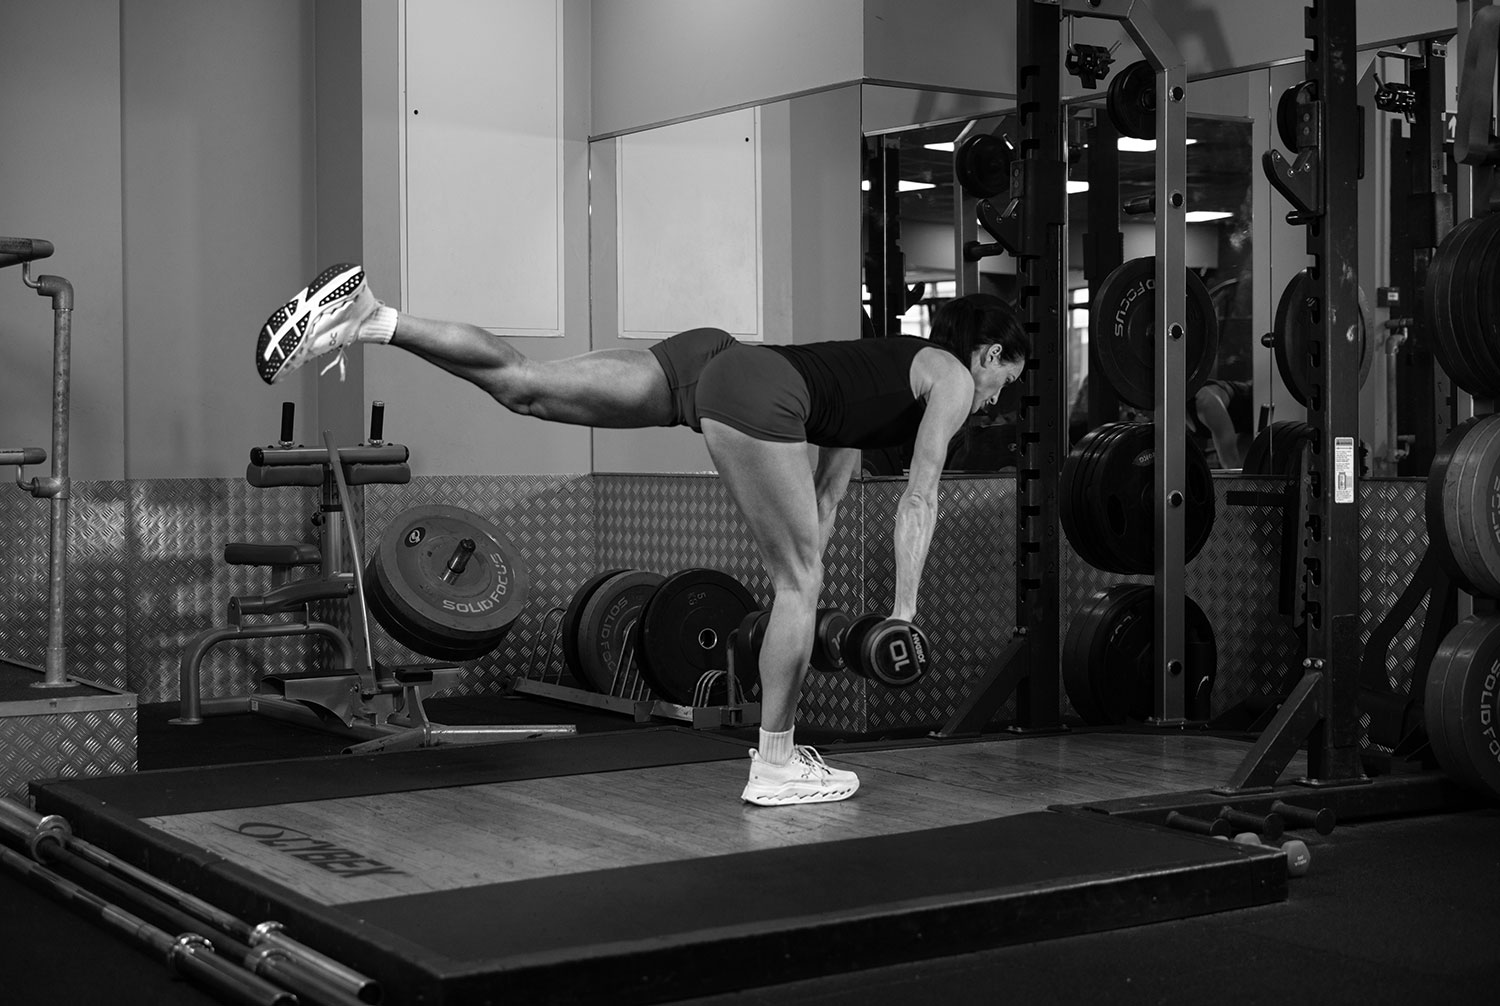
Single-leg Romanian Deadlifts (RDL’s) Weighted
Romanian RDL’s help reduce overstride by strengthening the glutes and hamstrings, improving hip control, and encouraging greater force production behind the body rather than reaching too far forward.
1
2
Bulgarian Split Squats Unweighted
Running is a single-leg activity. Bulgarian Split squats strengthen your glutes, quads, and hip control, helping you stay stable over the stance leg rather than bouncing upward and swaying side to side. A simple starting point is 2 to 3 sets of 6 to 10 reps per leg, using only your body weight.
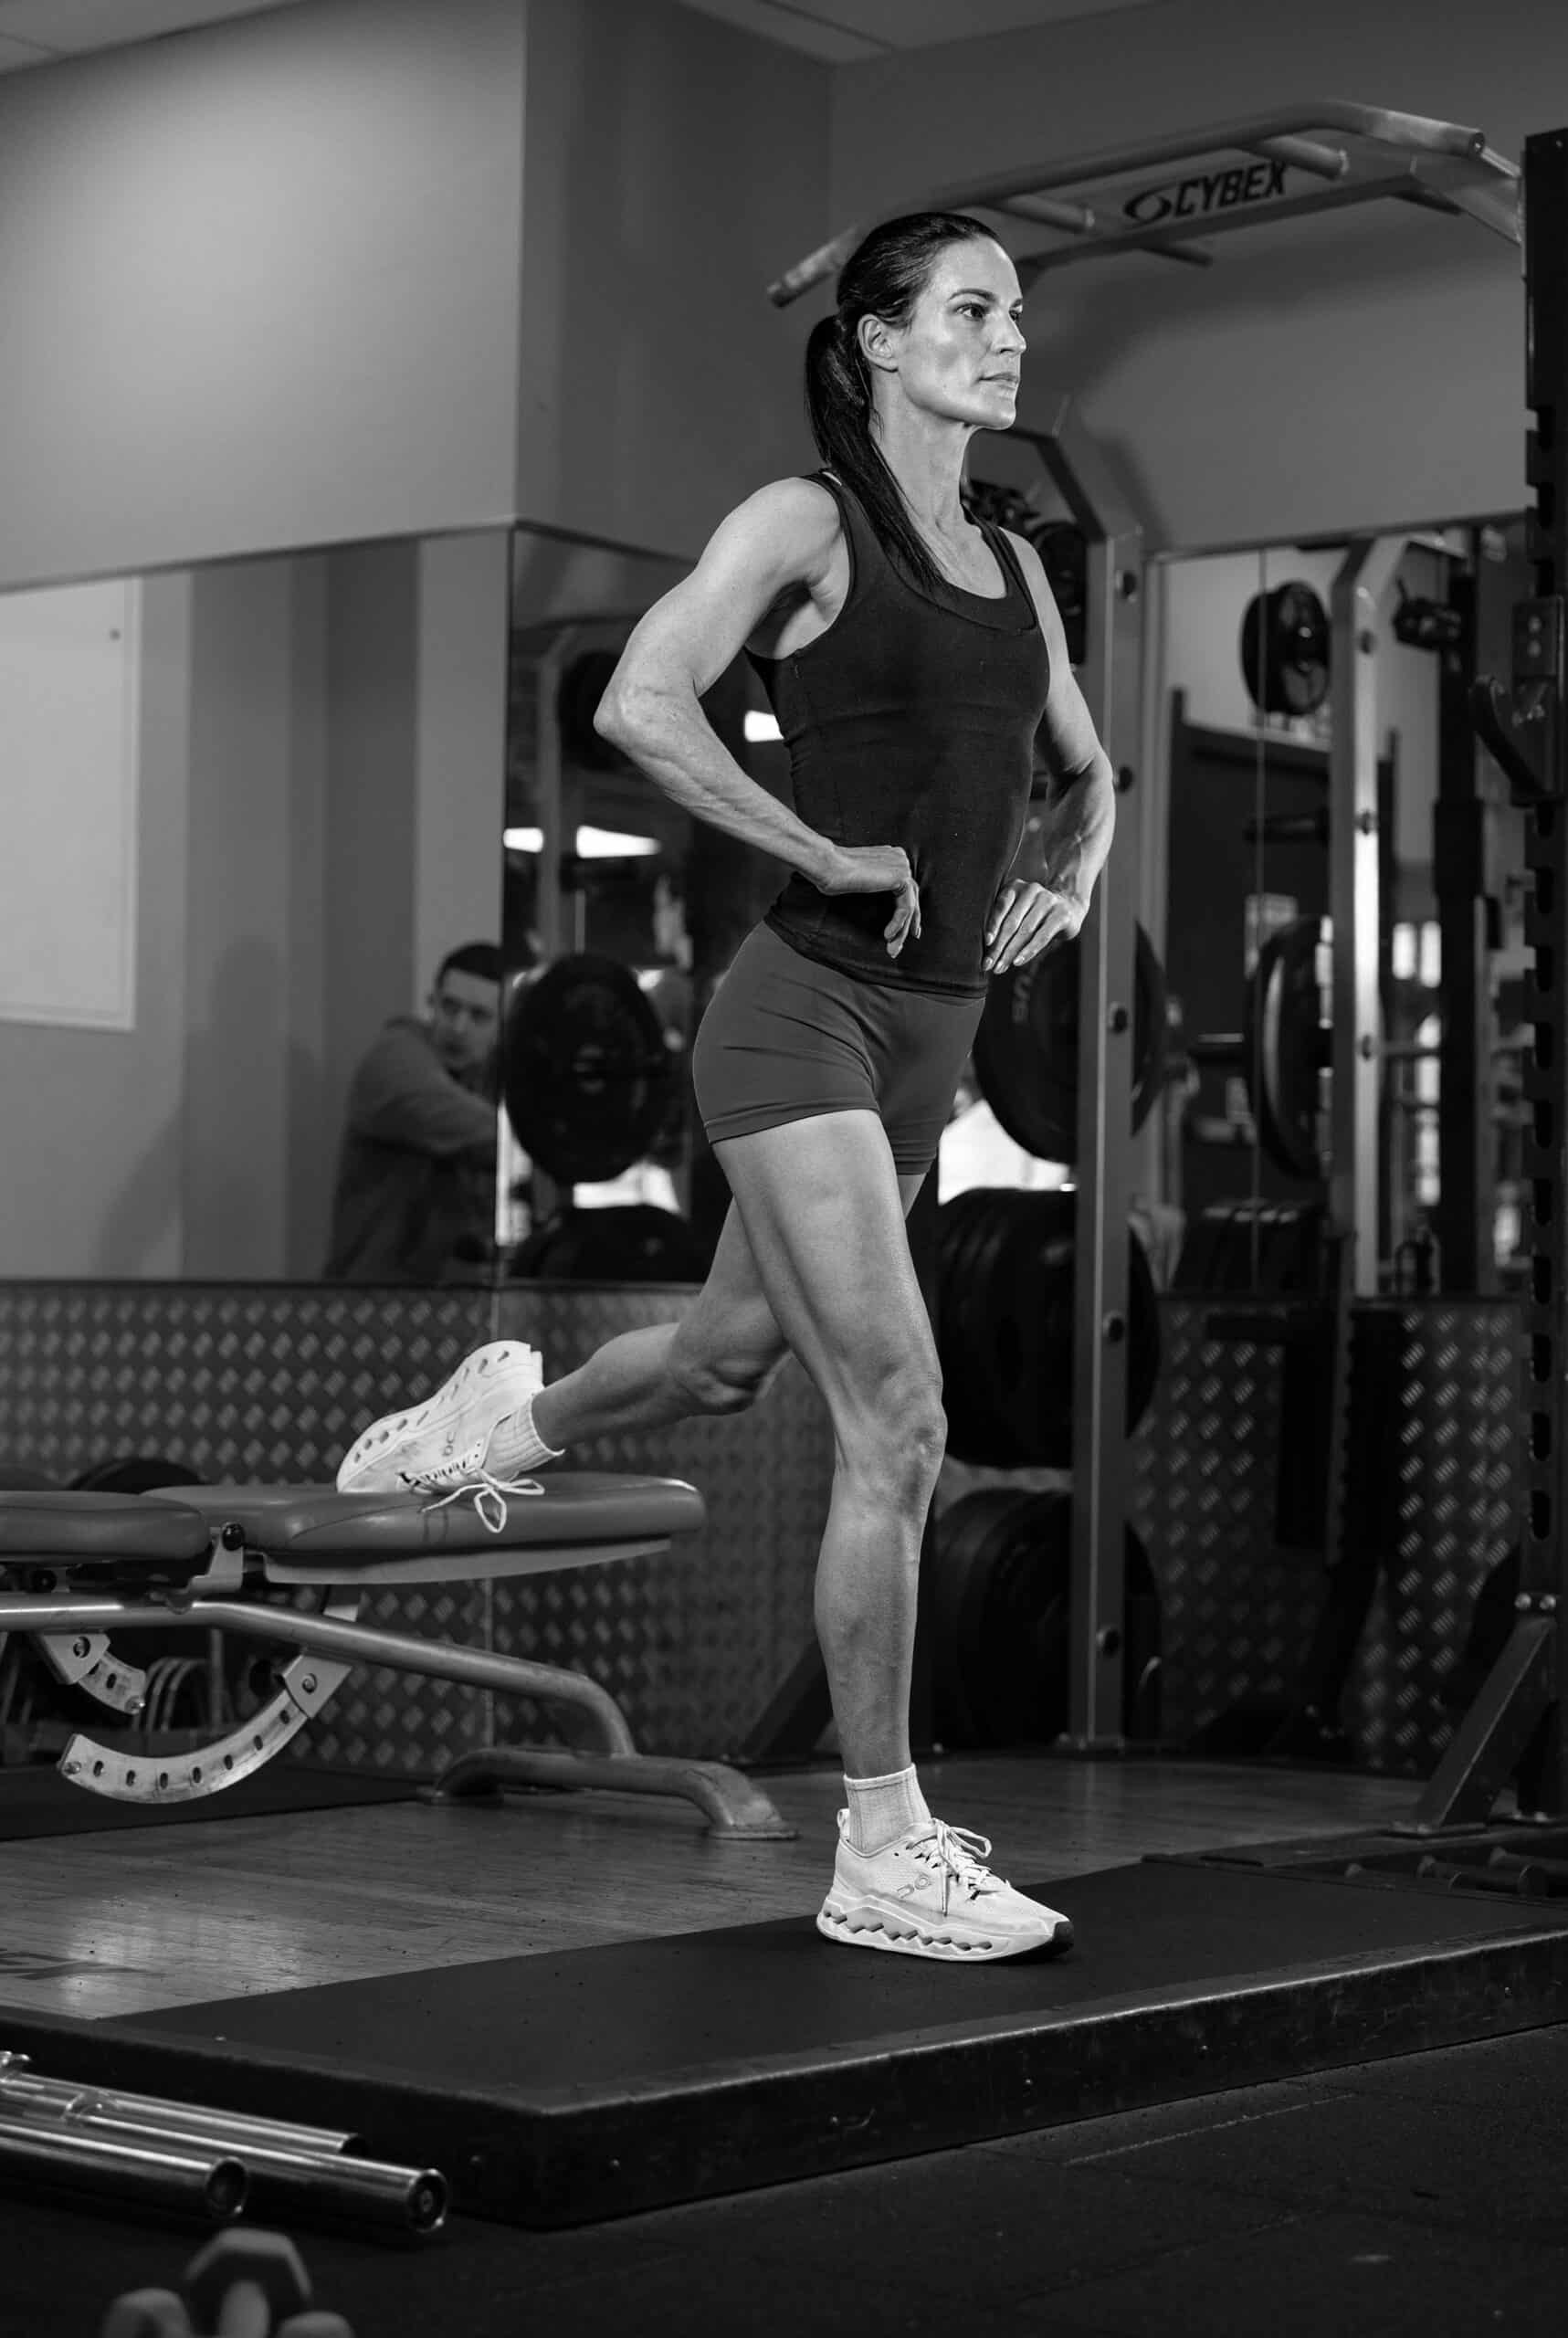
1
Stand a couple of feet in front of a bench or sturdy chair. Put one foot behind you on the bench. Keep the other foot far enough forward that when you lower down, your knee stays roughly over your foot instead of being forced way past your toes.
Brace your core and keep your chest up (slight lean forward). Most of your weight should stay in the front leg.
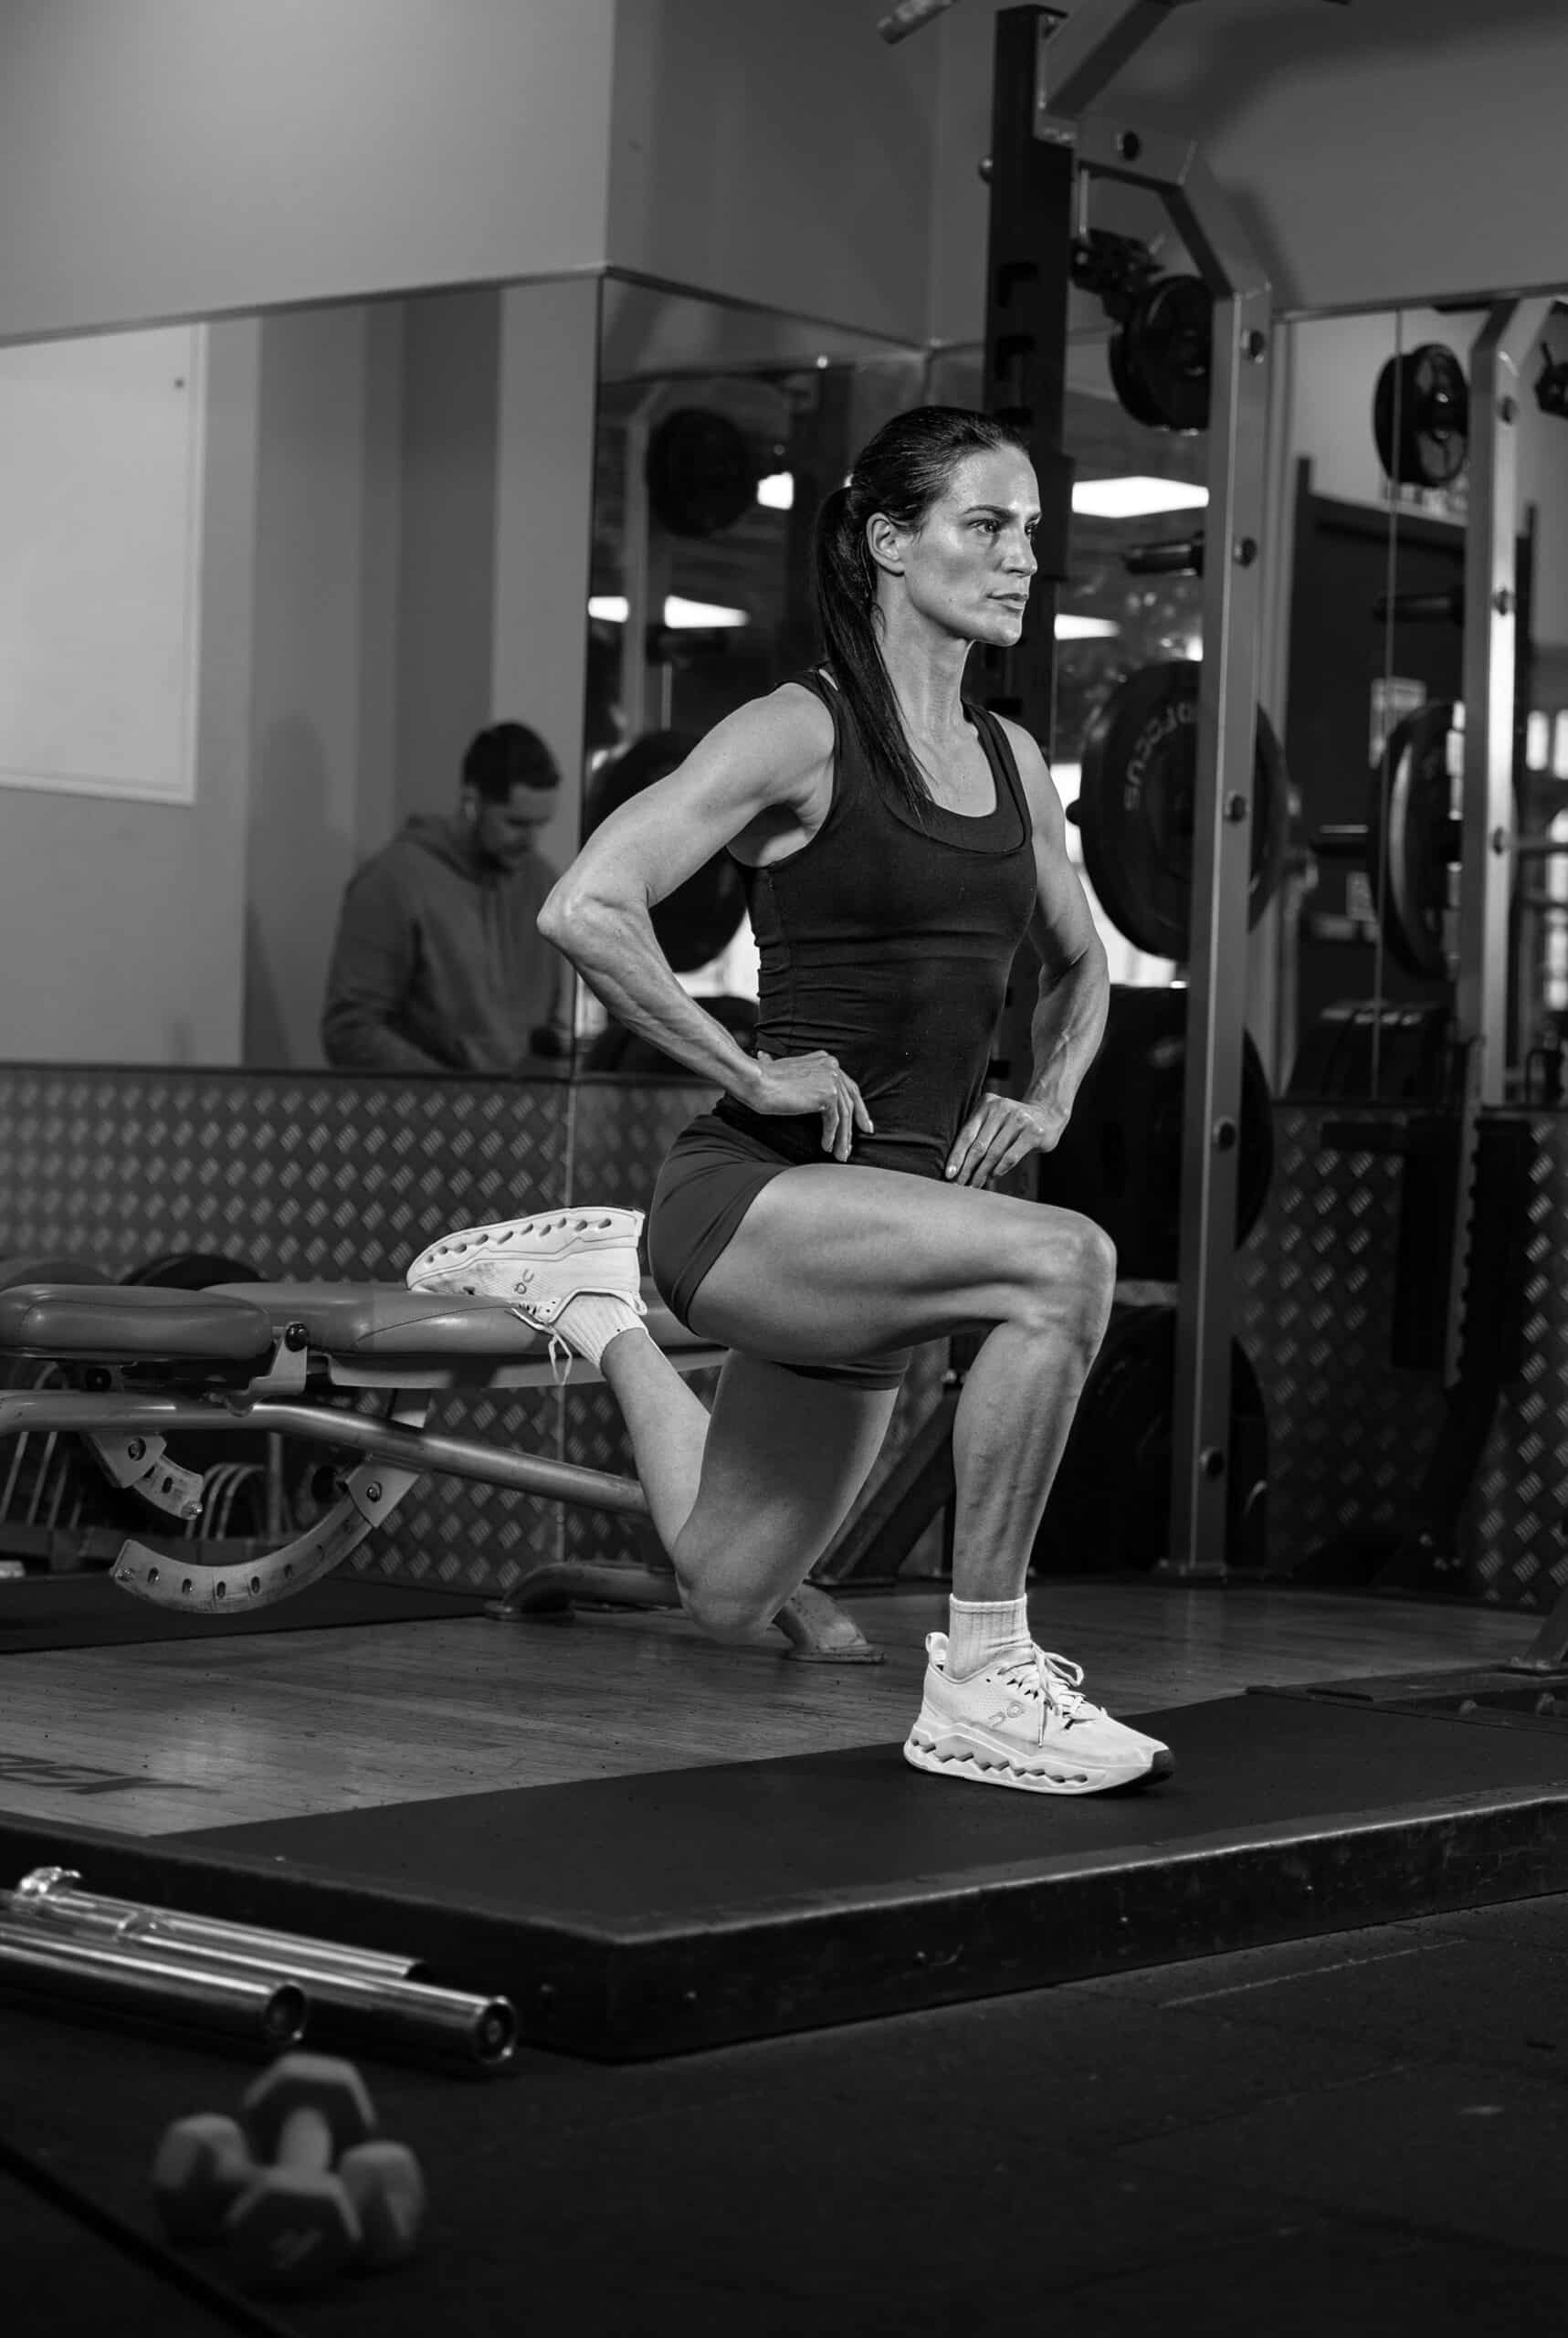
2
Lower yourself by bending the front knee and letting the back knee move toward the floor. Go down under control until your thigh is parallel to the ground, or as low as you can without losing balance or form. Keep your knee tracking along the line of your foot
Push through the heel and midfoot of the front foot to stand back up, move slowly (no bounce at the bottom) and stay in balance. This is one rep.
Bulgarian Split Squats Weighted
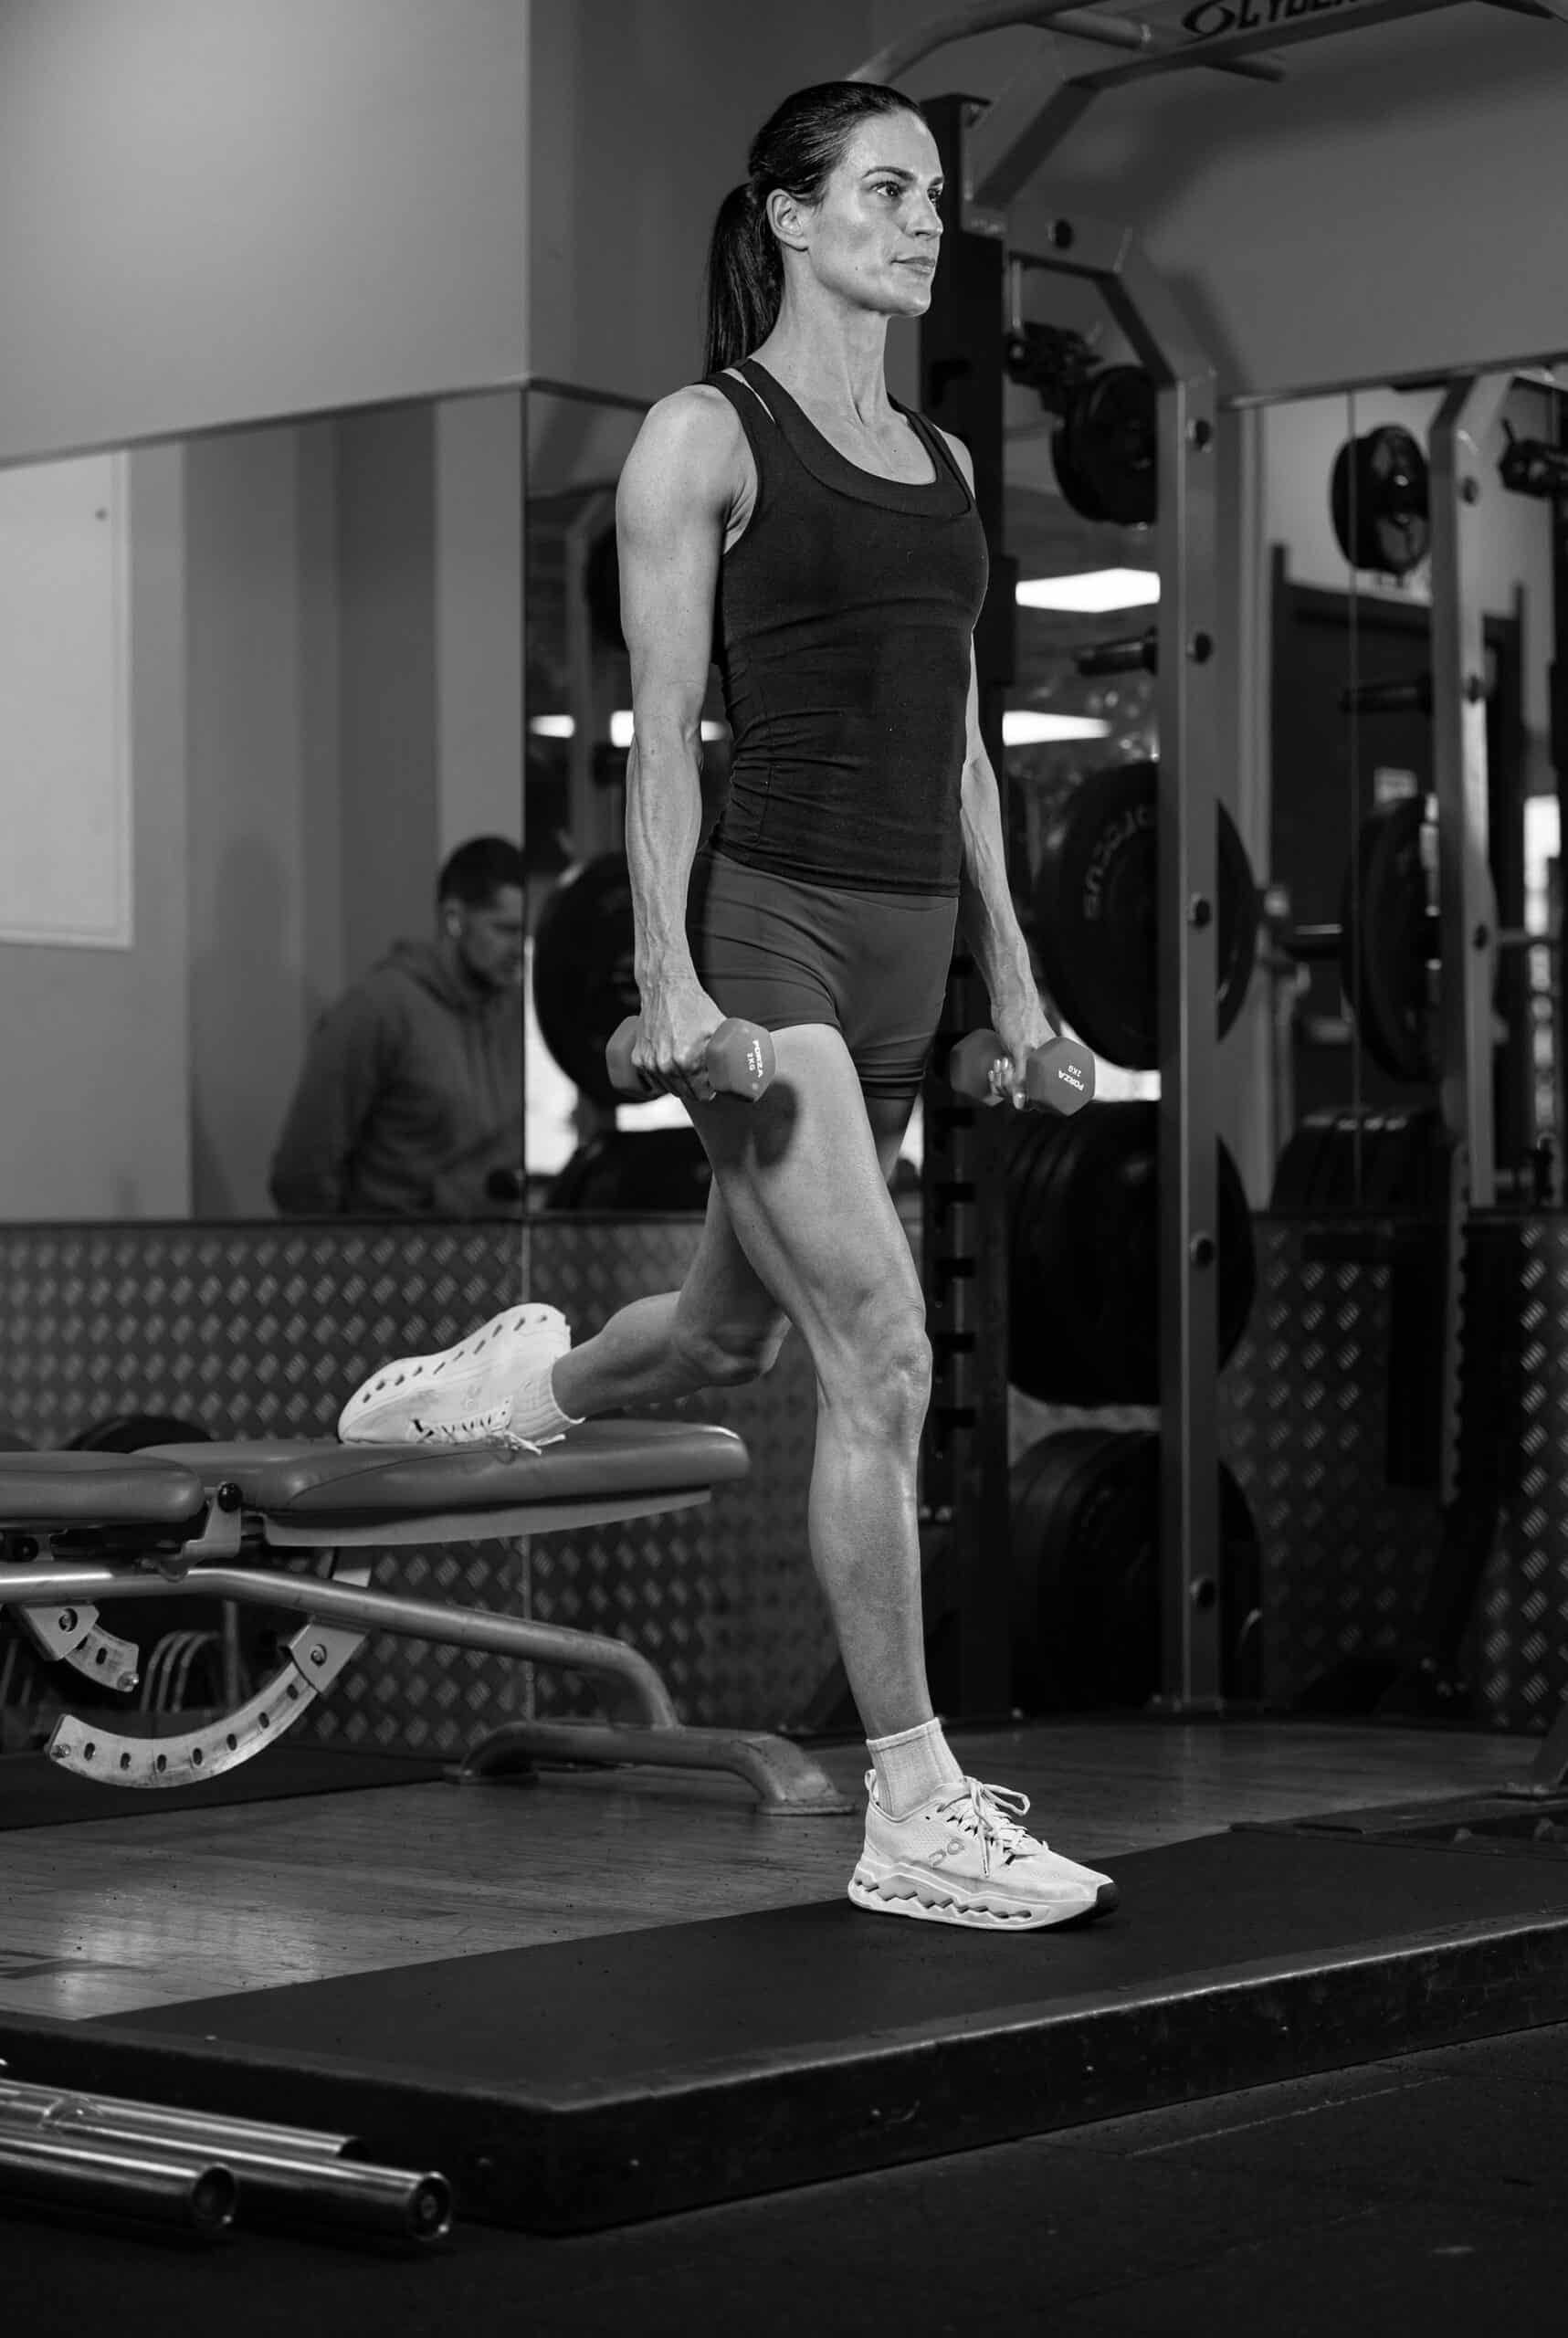
1
Using small dumbbells, a weighted backpack or even a weighted shopping bag or water containers. Now execute the exercise exactly as the unweighted Bulgarian Split Squat.
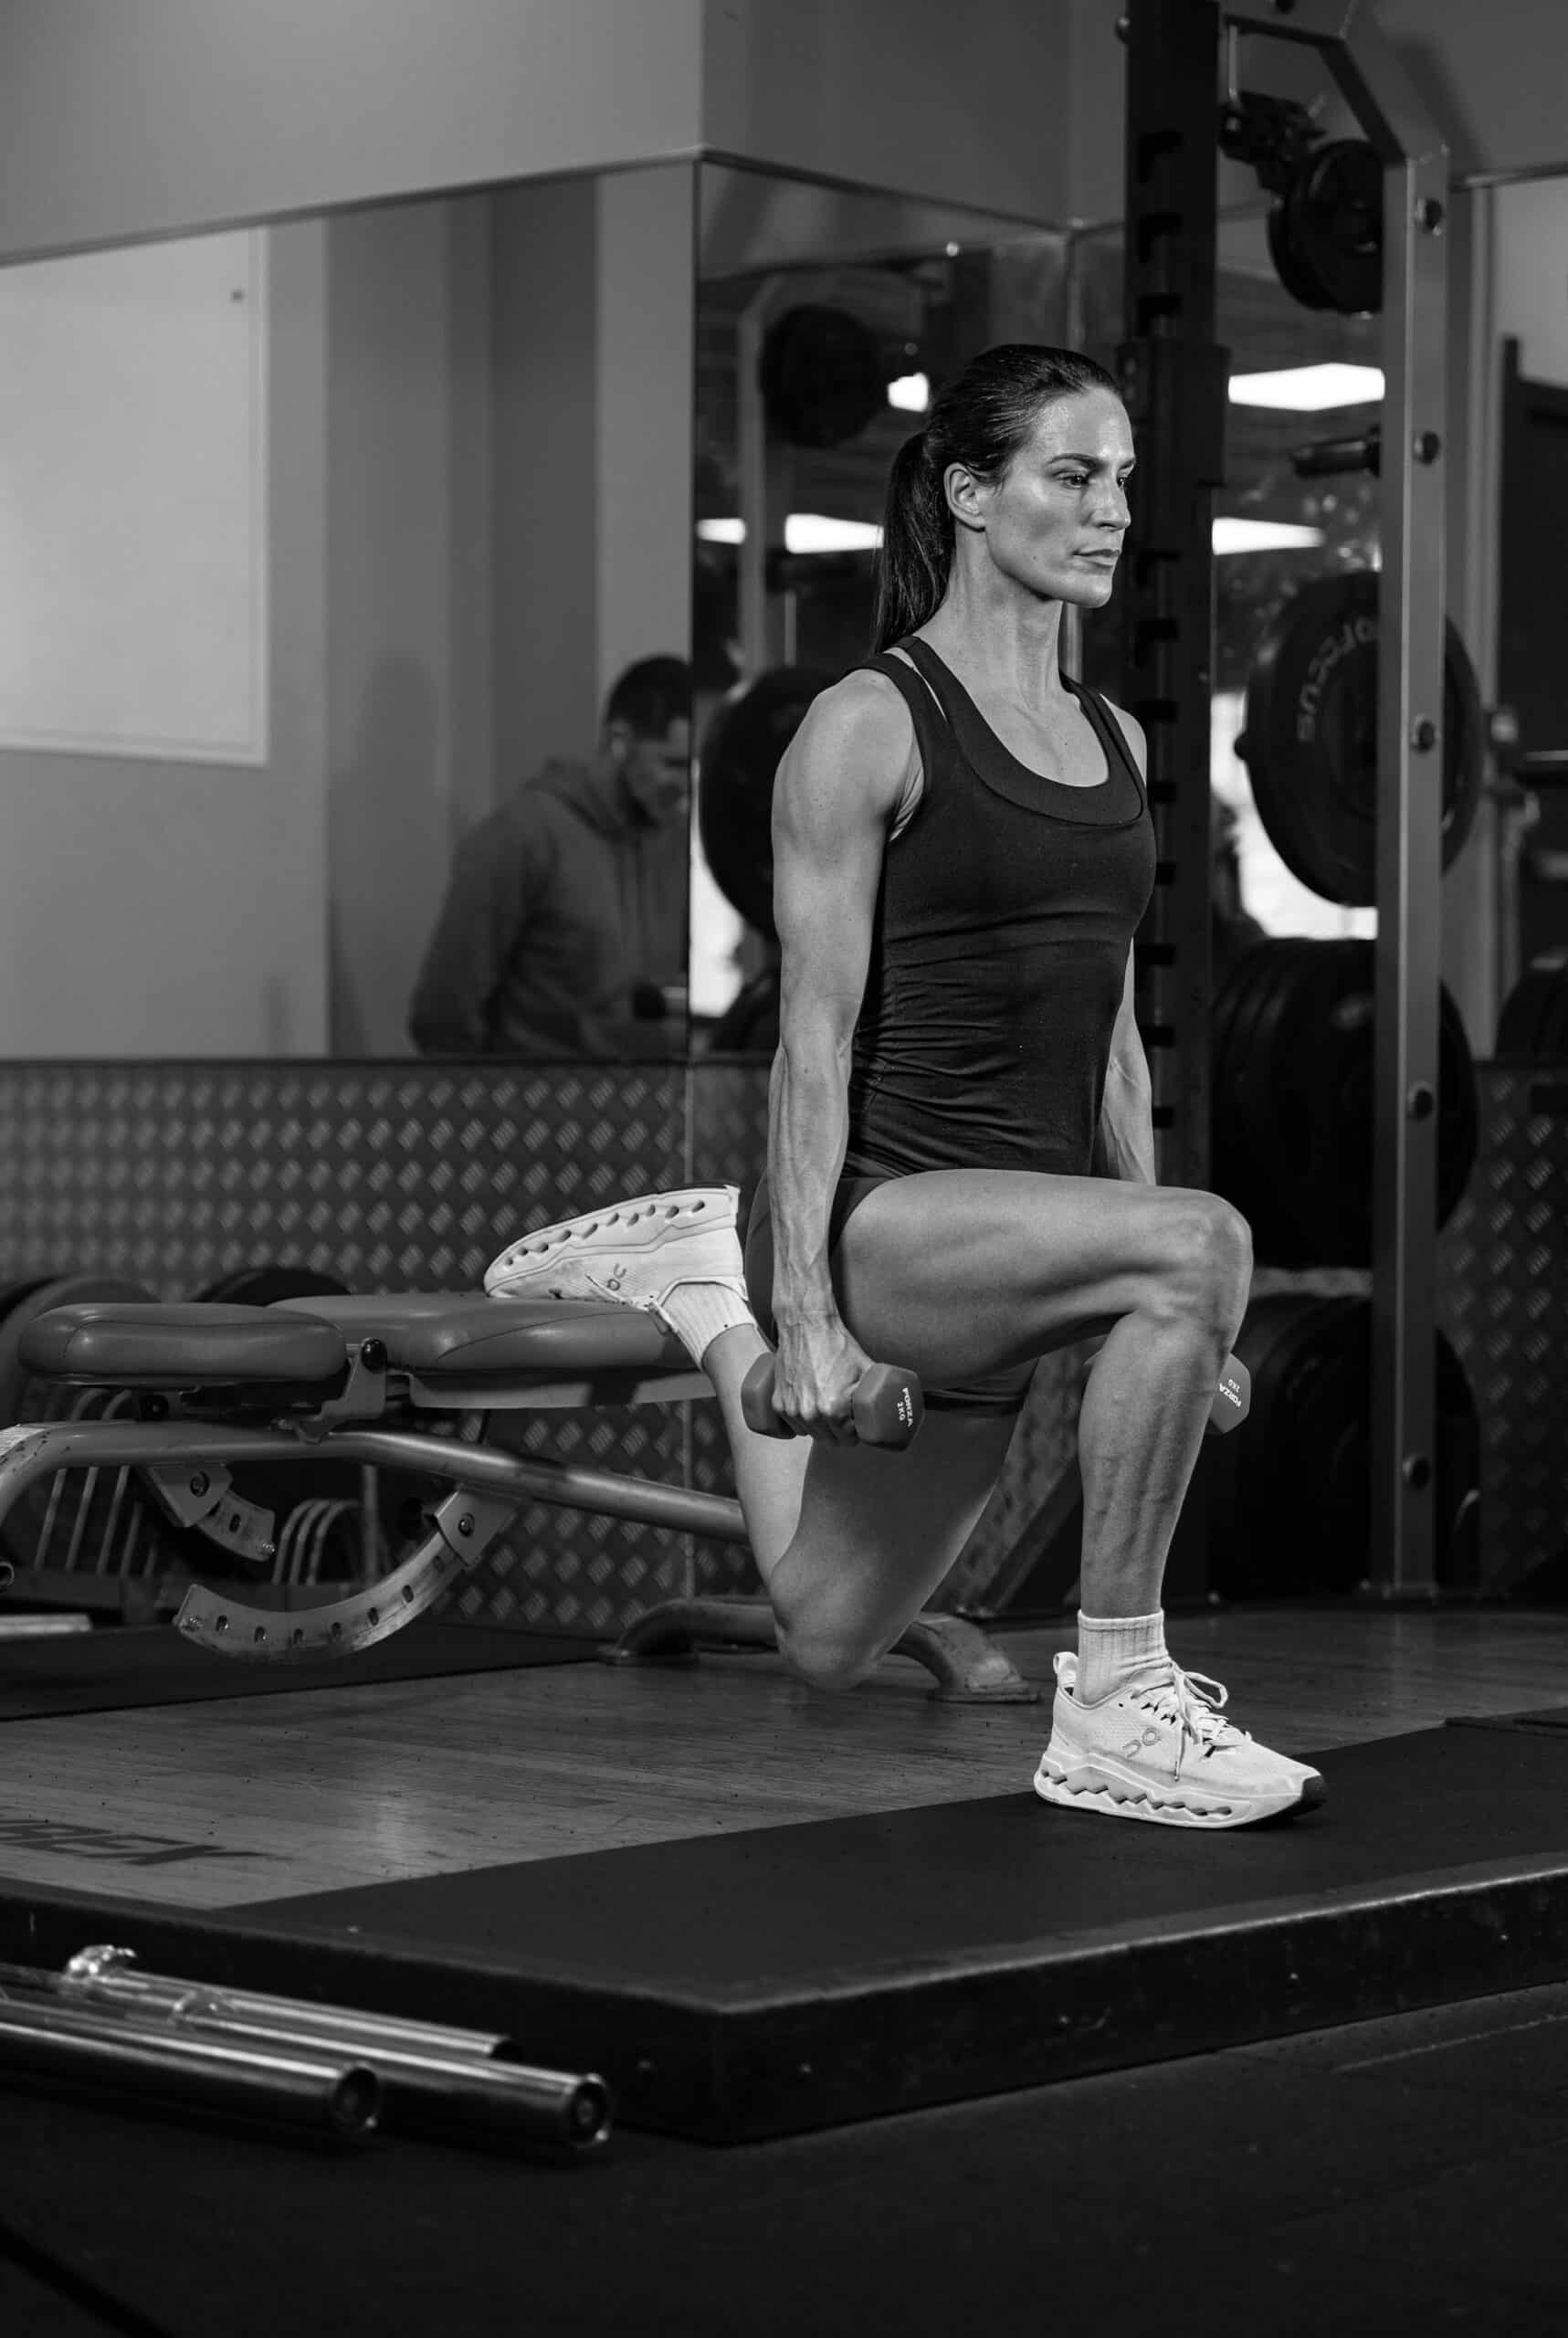
2
Increase the weight as you feel comfortable. Generally, if you can complete 3 sets of 10 without difficulty and maintain complete stability, then raise the weight. The goal here is not to set PRs but to maintain good control while keeping perfect stability.
Step-Downs
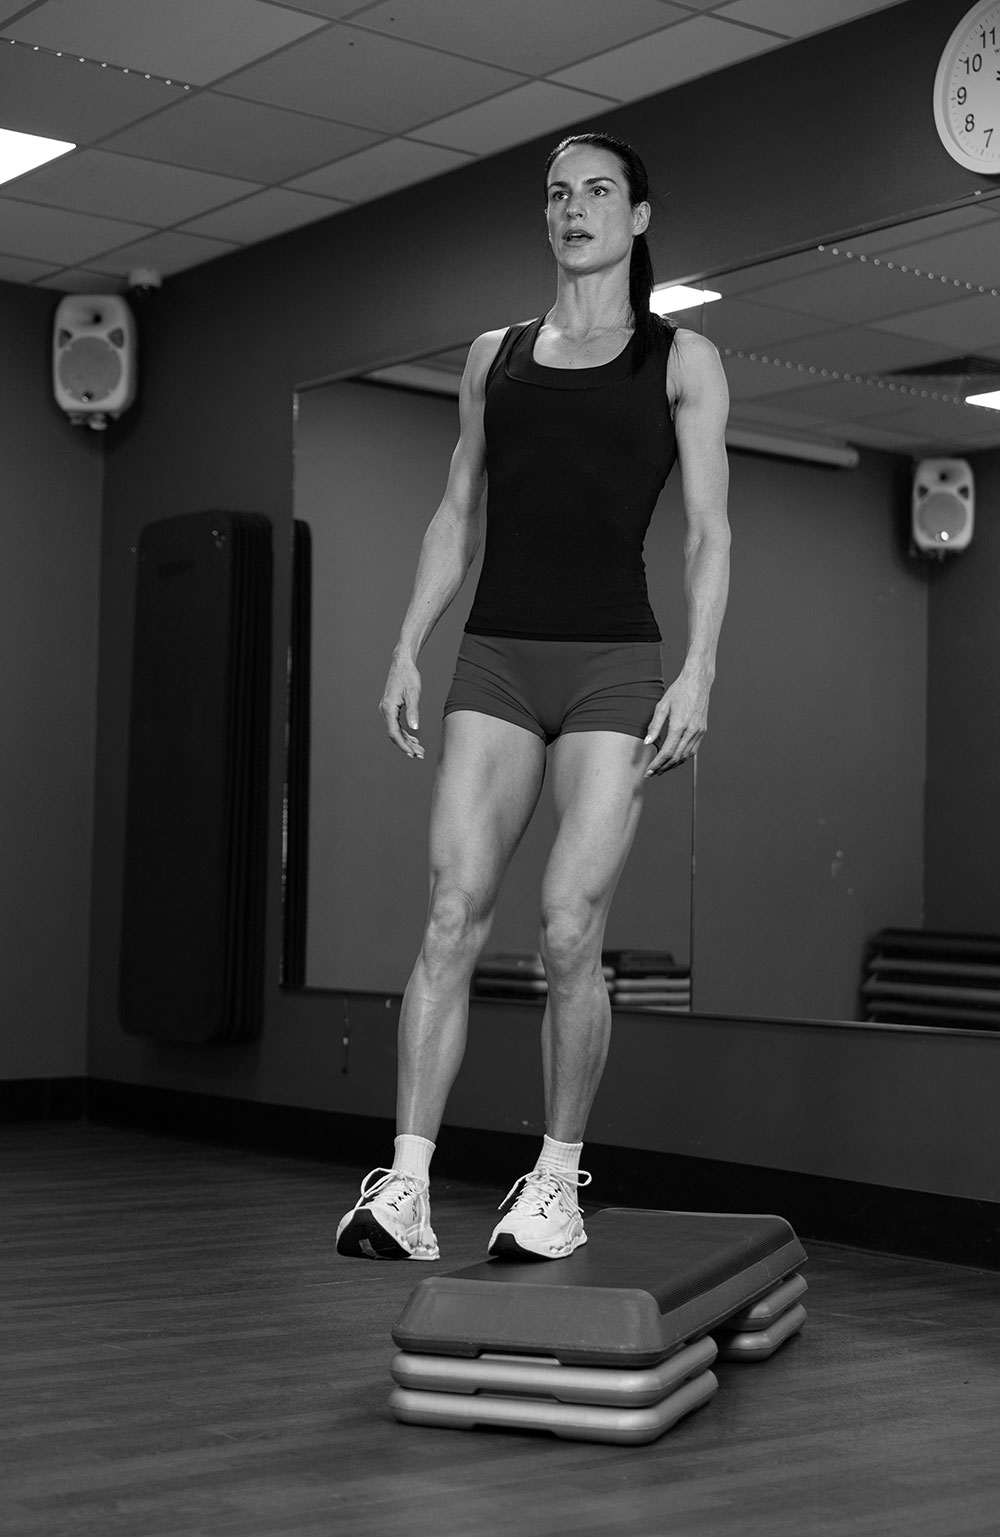
1
Step-downs are excellent for teaching the knee, hip, and ankle to control landing forces.
How: Stand on a box or step, balance on one leg with the other floating in the air.
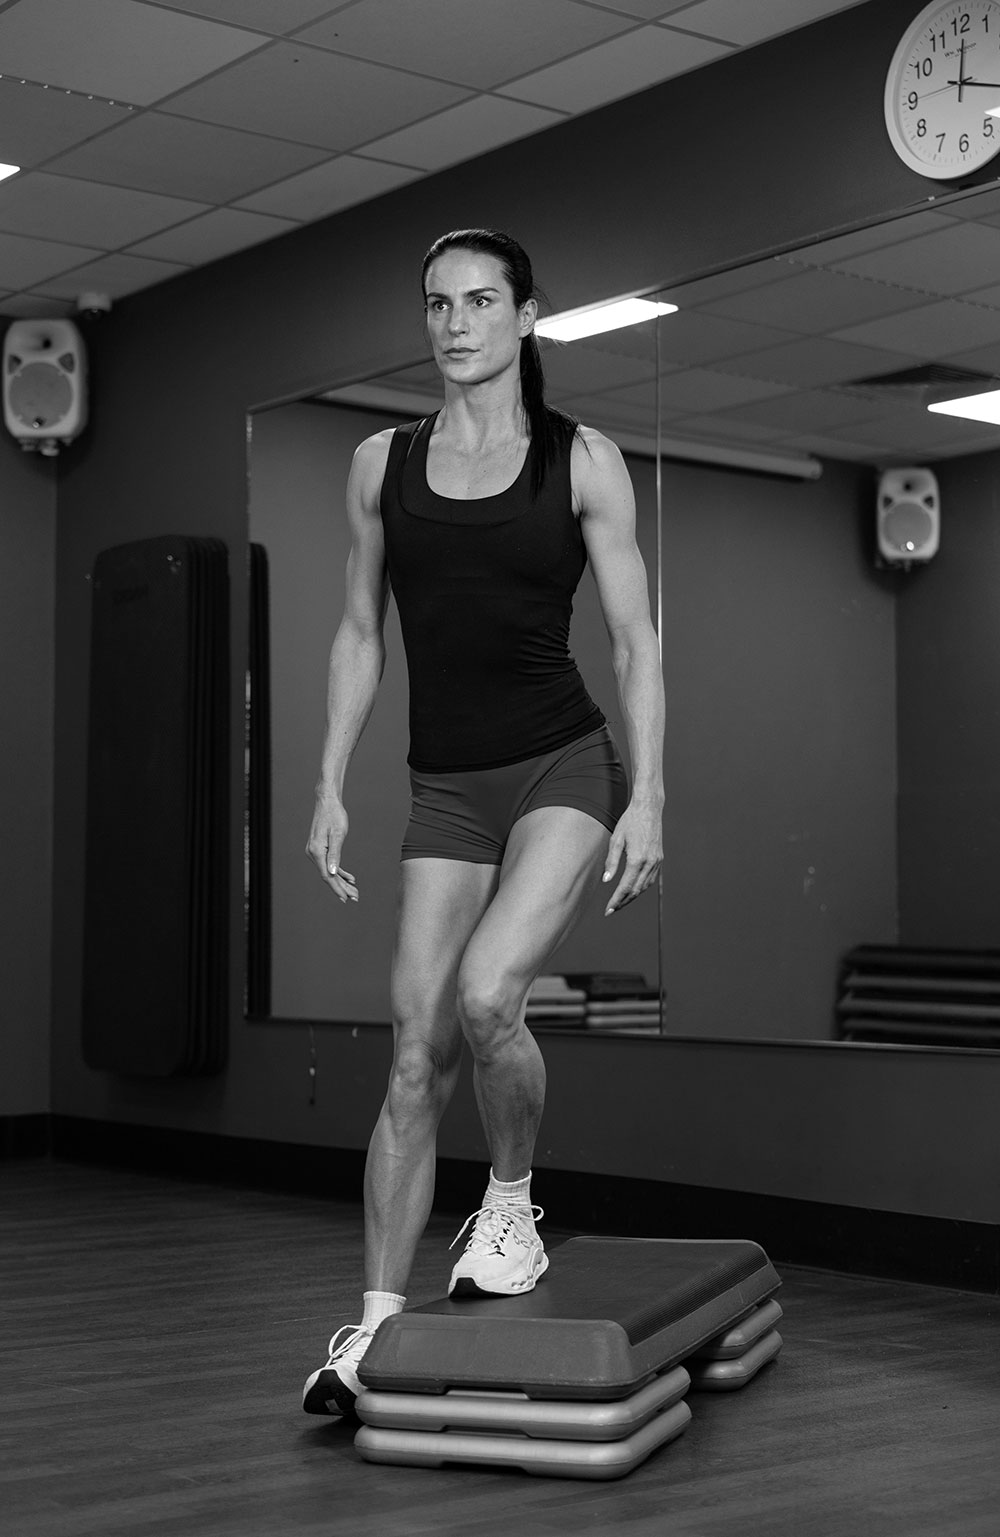
2
Standing Calf Raises Unweighted
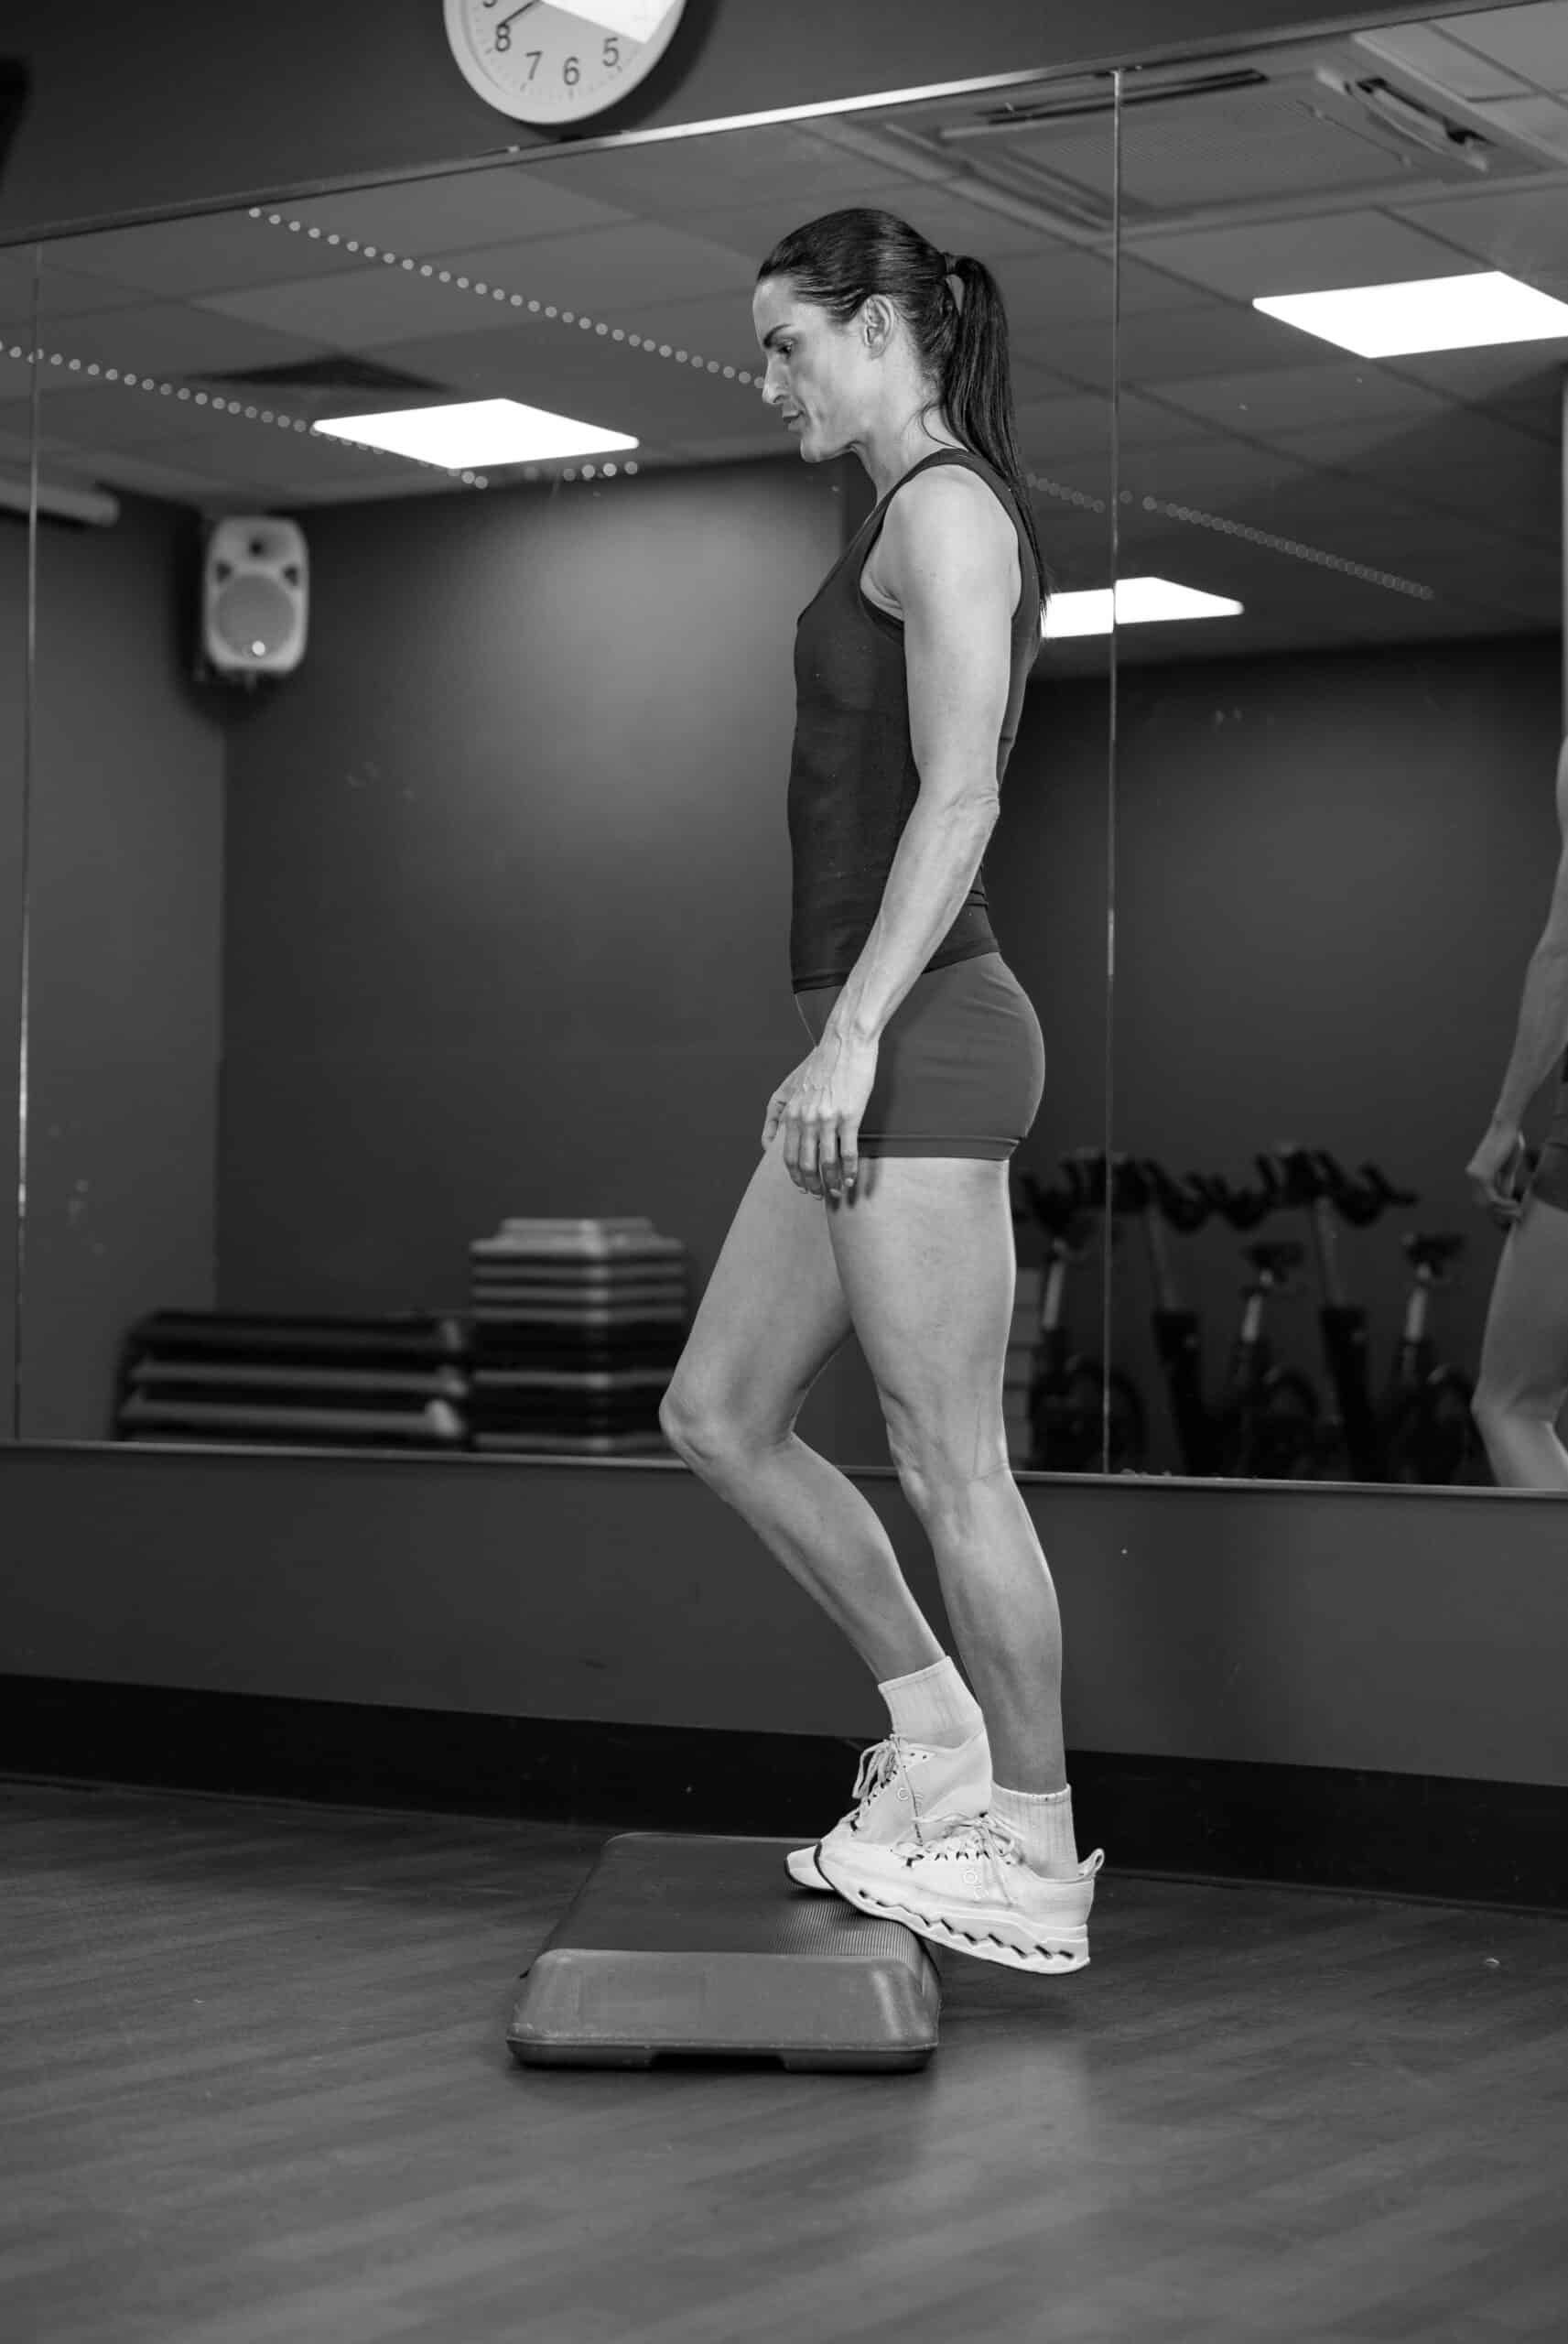
1
Find a step or similar object. If you can steady yourself by holding onto a wall or rail. Carefully move your heels over the edge of the step. Now shift your weight to one side, in this case the left, and let your heel drop; your right foot will just be touching to help balance.
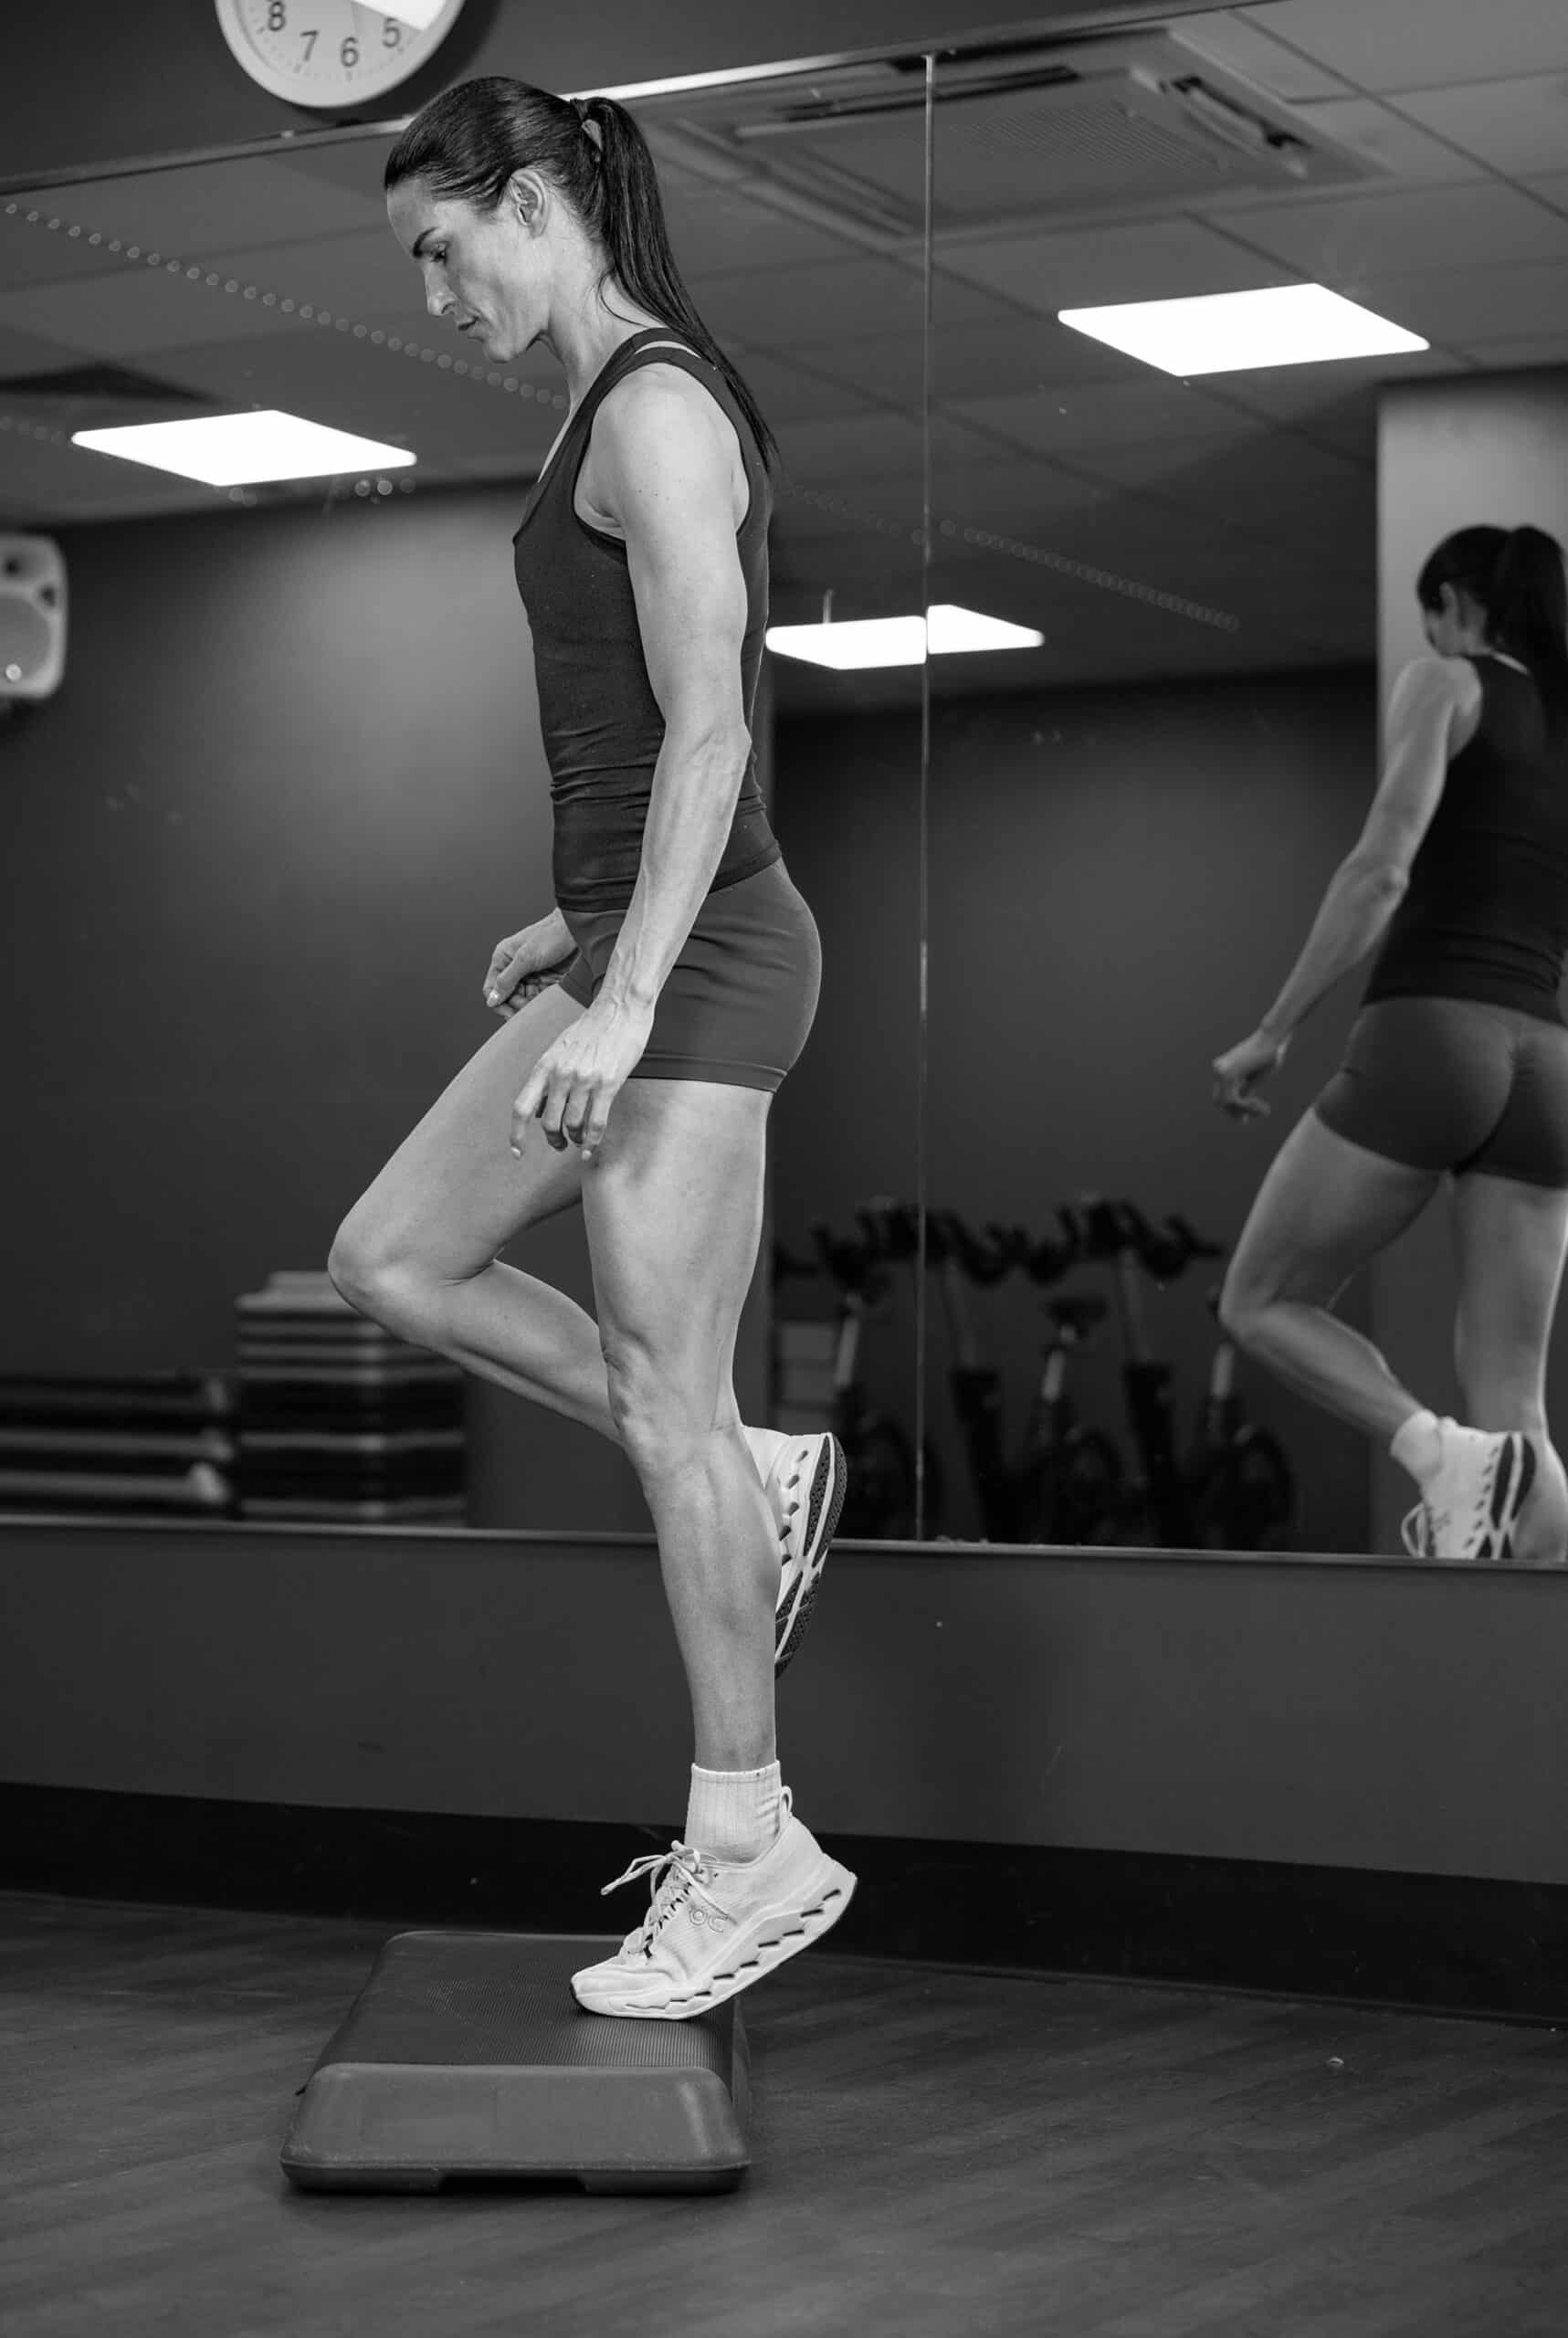
2
Start the exercise by slowly raising your left heel for 3 seconds, then lock out at the top. Hold this for 5 seconds if you’re a beginner, and for 15 seconds if you’re an expert. Once you’ve finished, lower yourself down slowly and rest for a few seconds. Perform two to six repetitions, two to three times a week. As you get stronger, you can wear a backpack and add weight to it.
Standing Calf Raises Weighted
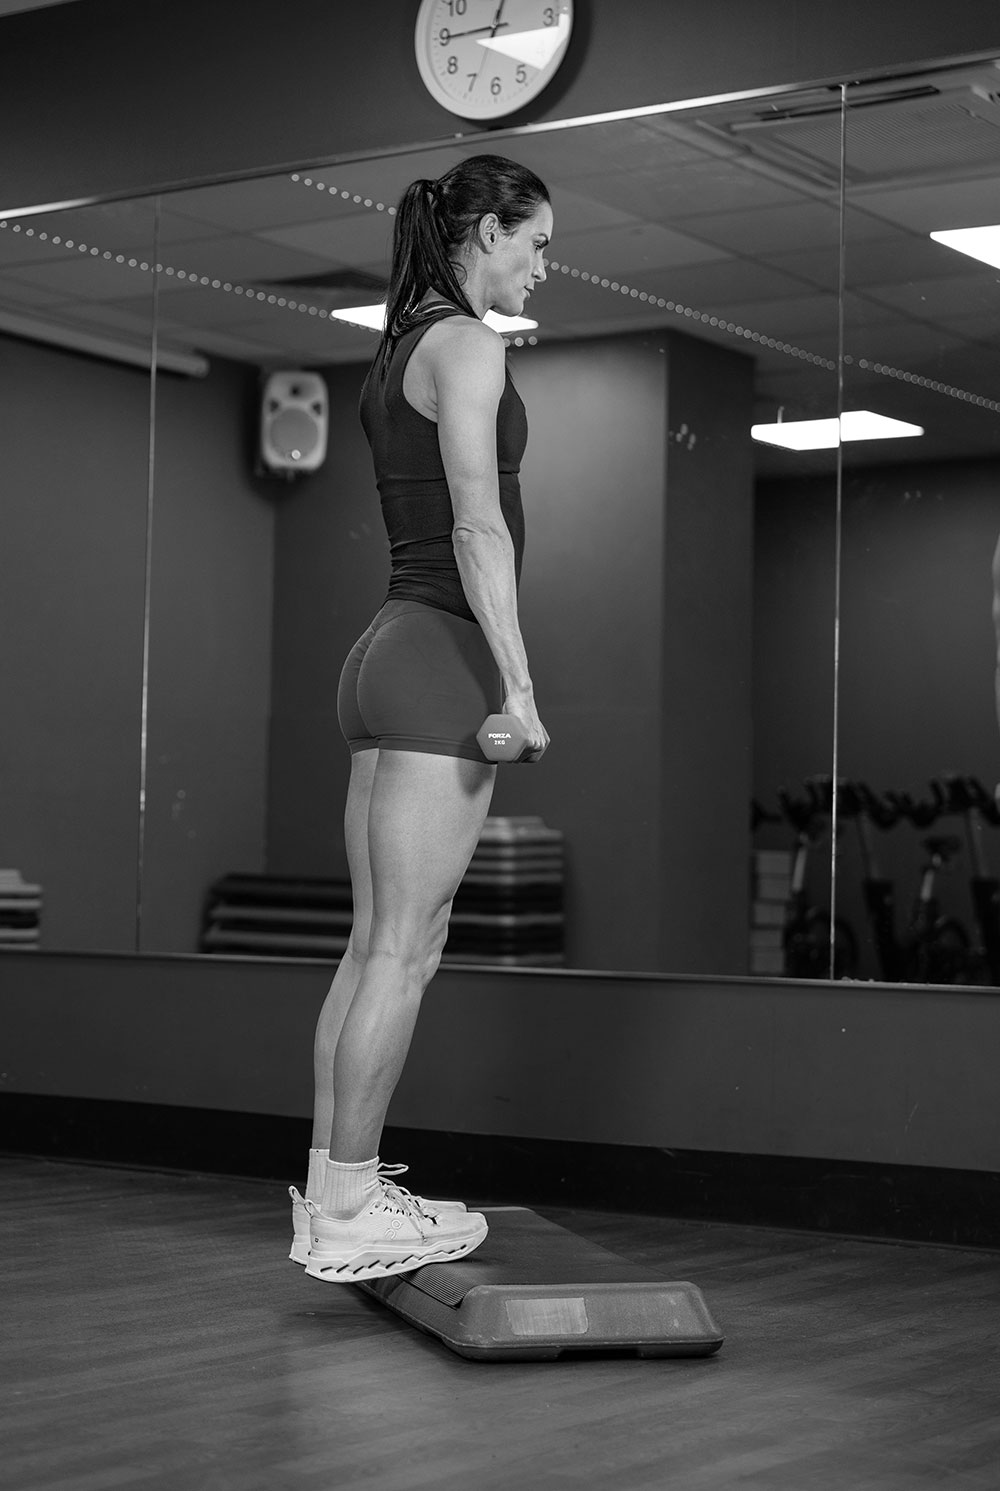
1
Find a step or a similar object, and hold some weight in either hand. Carefully move your heels over the edge of the step. Now shift your weight to one side, in this case the right, and let your heel drop; your left foot will just be touching to help balance.
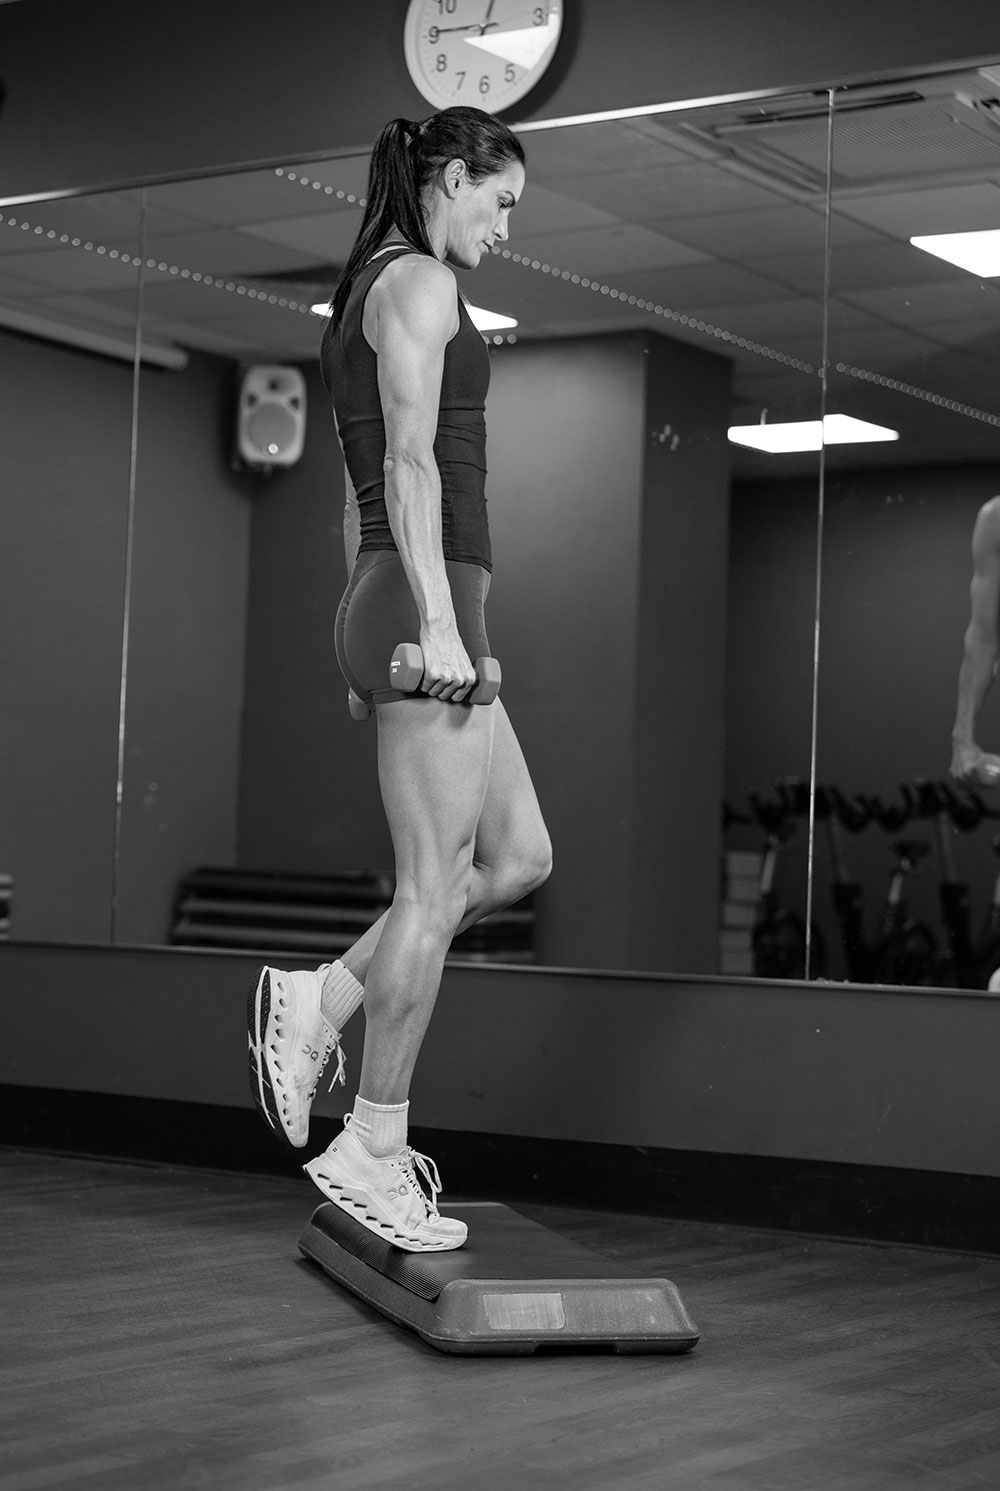
2
Start the exercise by slowly raising your left heel for 3 seconds, then lock out at the top. Hold this for 5 seconds if you’re a beginner, and for 15 seconds if you’re more accomplished. Once you’ve finished, lower yourself down slowly and rest for a few seconds. Perform two to six repetitions, two to three times a week. As you progress, add weight.
RUNRIGHT-3D Explainers
Micrometrics
- EGround Contact Time
- EOverstride
- EVertical Stiffness
- EVertical Oscillation
- ECadence
-
Reduce your braking power and run better